Learn what paint you can use on pumpkins for beginners in 2025. Simple tips, paint types, and step-by-step techniques for stunning fall decorations!
Are you new to painting pumpkins? You’re lucky! Depending on what they want to do with their pumpkins, beginners can use acrylic paint, tempera paint, or spray paint. Choosing the right type of paint makes decorating fun and easy because each one has its own benefits. This guide tells you everything you need to know to start making beautiful pumpkin designs right now.
The Best Paints for People Who Are New to Pumpkin Painting
I wish someone had told me about the different kinds of paint when I first started decorating pumpkins years ago. Let me save you the trouble of trying out different paints by telling you which ones are good for beginners.
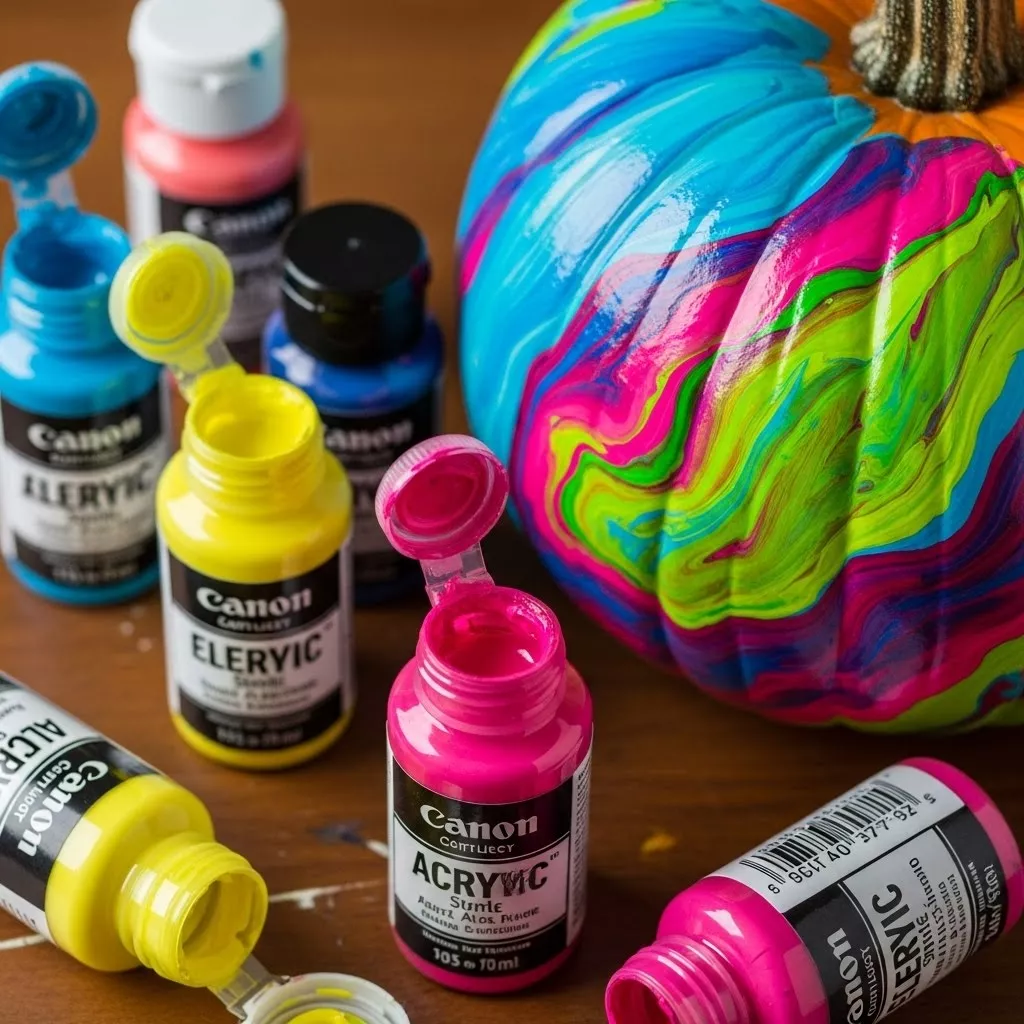
Acrylic paint is the best choice.
When it comes to decorating pumpkins, acrylic paint is the easiest to use. It’s cheap, easy to find at any craft store, and very forgiving for people who are painting for the first time.
This is why acrylics work so well:
- They stick to pumpkins without needing any primer.
- Colors stay bright and solid.
- It only takes 15 to 30 minutes to dry.
- You only need soap and water to clean up.
- They come in a lot of different colors.
Instead of buying expensive artist-grade paints, I suggest starting with basic craft acrylics. The less expensive ones are great for Halloween crafts and decorations for the holidays.
Tempera Paint: Safe for Kids
Tempera paint crafts are the safest option for families with young kids. Tempera paint is safe for kids to use, easy to clean up, and doesn’t need to be watched over.
But tempera isn’t the best choice for pumpkin decorations outside. It fades faster than acrylics and washes away quickly in the rain. Use tempera for indoor displays or projects that don’t need to last long and are easy to clean up.
Spray Paint: Fast Coverage
Spray paint pumpkins cover quickly and evenly, making them great for solid color bases. This choice is great if you want to change the color of a pumpkin completely before adding any details.
Beginners should know that spray paint needs to be used outside and in a well-ventilated area. It’s also harder to control than paints that you brush on, which makes it hard to make detailed designs.
Important Supplies for Painting Pumpkins
Get these basic things together before you start your fall DIY projects:
| Supply Item | Purpose | Cost Range |
|---|---|---|
| Paint (acrylic/tempera) | Main coloring | $1-$5 per bottle |
| Synthetic brushes | Applying paint | $3-$8 for set |
| Foam brushes | Base coats | $1-$3 |
| Paper towels | Cleanup | $2 |
| Water cup | Brush cleaning | Free |
| Clear sealer spray | Protection | $5-$8 |
Having the right tools for painting pumpkins makes the process easier and more fun, especially if you’re just starting out.
How to Paint Step by Step
Starting with the right technique stops beginners from making common mistakes. To get good results, do the following:
Get Your Pumpkin Ready
To clean your pumpkin, first wipe it down with a damp cloth to get rid of dirt and dust. Let it sit out for about 15 minutes to dry completely. Cleaning surfaces helps paint stick and keeps it from peeling later.
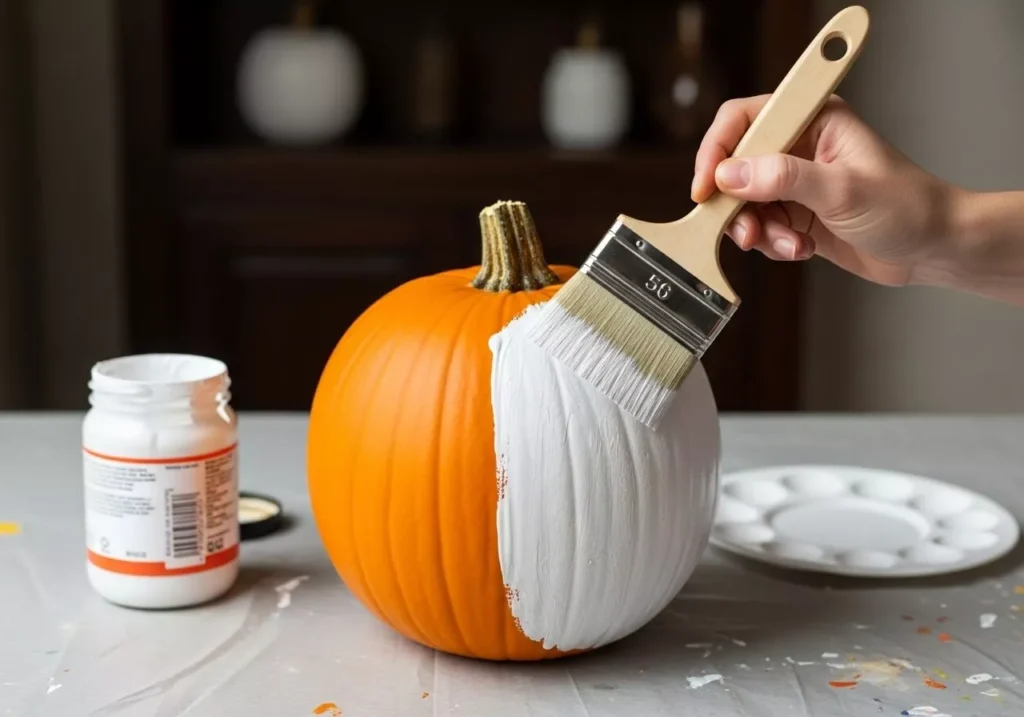
Some painters put on a white base coat first, but this is not necessary. Base coats make colors stand out more, especially when the colors are lighter.
Put on Your Paint Start at the top and work your way down to keep wet areas from getting smudged. Instead of one thick layer, use thin, even coats. This no-carve pumpkin decorating method stops cracks and makes sure the coverage is smooth.
Before painting, lightly sketch your pattern with a pencil for more complex designs. This rule helps you keep your design in proportion and gives you confidence as you paint.
Seal Your Work
Wait at least two hours for the paint to dry completely before spraying on a clear acrylic sealer. This layer of protection makes your decoration last longer and protects it from the weather when it’s outside.
Keep the spray can 8 to 12 inches away and spray light, even coats. Two thin layers work better than one thick one.
Things Beginners Often Do Wrong
I’ve learned what NOT to do when making easy pumpkin crafts:
- Don’t paint pumpkins that are still wet. The paint will slide off if they are wet.
- Don’t use very thick layers of paint; they crack as the pumpkins dry.
- Don’t forget the sealer; paint that isn’t sealed chips and fades quickly.
- Don’t paint over moldy spots; instead, clean or throw away moldy pumpkins.
A Beginner’s Guide to Paint Comparison
Not sure which paint is right for you? This is a quick comparison:
Acrylic Paint:
- Best for: Most projects, work outside, and work that needs a lot of detail
- Durability: Very good (3–4 weeks)
- Level of skill: easy for beginners
- Price: Very reasonable
Tempera Paint:
- Best for: projects for kids and displays inside
- Durability: Not good outside (washes away)
- Level of skill: Very easy
- Price: Very low
Paint in a spray can:
- Best for: covering up solid colors and giving things a modern look
- Lasts a long time: 2–3 weeks
- Level of skill: Intermediate
- Price: Moderate
I always choose washable pumpkin paint projects for kids. When little hands get messy, they make cleaning up easy!
Advice for Getting Results That Last
Do you want your painted pumpkins to last all season? Keep them out of direct sunlight and in the shade. Extreme temperatures make things break down faster.
Also, pick pumpkins that are fresh and firm and don’t have any soft spots. Pumpkins that are healthy hold paint better and last longer without rotting.
Final Thoughts
It doesn’t have to be hard to paint pumpkins for the first time. Acrylic paint is still the best choice overall because it lasts a long time, has bright colors, and is easy to use, making it great for beginners. The right paint can make a big difference in how professional your work looks, whether you’re making simple designs or complex masterpieces.
Are you ready to change your pumpkins this season? Which design will you paint first? Get your things and start making today!
Questions that are often asked
What kind of paint is best for beginners who want to decorate pumpkins?
Acrylic craft paint is the easiest choice for beginners because it doesn’t need any special prep, dries quickly, and makes bright designs. You can get it in a lot of different colors at any craft store, and it’s cheap.
Is it okay to paint pumpkins with regular house paint?
It is possible to paint pumpkins with house paint, but it is not a good idea. It has chemicals that might not be safe for food that is meant to be decorative, takes a long time to dry, and costs a lot more than craft paint that is made for this purpose.
Do you need to put a seal on painted pumpkins?
Sealing isn’t necessary, but it’s a good idea, especially for displays outside. Clear acrylic sealer spray protects your design from weather, extends its lifespan by 2-3 weeks, and prevents paint from chipping.
How long will a painted pumpkin last?
Depending on the type of paint, the weather, and how they are stored, painted pumpkins usually last 2 to 4 weeks. Indoor pumpkins last longer (4 to 6 weeks) than outdoor displays that get rained on and have their temperatures change.
Does tempera paint stay on pumpkins?
No, tempera paint doesn’t last long and comes off easily with water. This makes it perfect for kid projects but unsuitable for outdoor decorations or long-term displays.

